If you think that you have written a great blog post and that your job is done, then you are making a mistake. You’ve only won half the battle! Besides writing a great post, you must ensure that your post looks as well as reads, great too. Moreover, your post must be able to serve well for your overall blogging plan.
My friend, you are not only the creator and editor of your content, but the marketer and a SEO specialist too. So, you wish to create awesome and flawless posts that are loved, read, and shared. Now here is the checklist that you’ve got to cover from start to end.
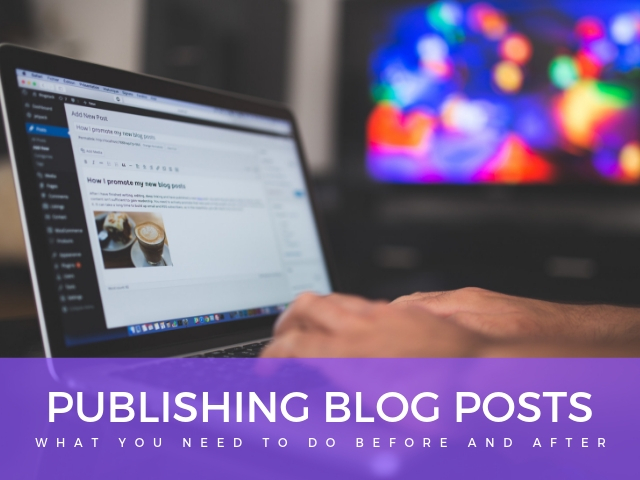
Things You Need to Do Before You Publish Blog Posts:
1. Draft a Proper Structure:
When you are writing a post, your focus must not be to create a perfect post but to get a rough draft down so that you don’t miss out any important thing. You can always edit the content later.
While formatting, bold and italic the content to make editing easier for you.
2. Create an Effective Title for the Post:
The title of your post is the most vital aspect of your marketing plan. Even if your content is great if the title is weak then only a few people will actually be interested to read it.
You must create a descriptive and persuasive title so that the number of people who checks it out is always high. The title must include phrases or keywords and must encourage others to click through. When you include keywords in the title then you are also optimizing it for SEO. Make sure your title targets the specific audience group.
3. Create Smaller Sections with Proper Headings:
Readers love to read content, which is well-formatted and structured. You must try to include a few lines of text in the paragraph and divide the section with bigger headlines.
This is great for those who scan a post and then decide to read the entire post. With huge blocks of text without headlines, it becomes difficult for people to identify what the post is all about.
4. Practice Deep Linking:
Deep linking is the practice of linking a new post to the last post. Whenever you write a new post, then you can always mention topics that you have written before and can link back to the previous posts.
5. Let a New Link Open in the New Window:
Whenever you add a link to WordPress, then you must offer the option to open the link in a new window. There is nothing more irritating to the users than missing or unable to read the entire post. So, make it convenient for them by opening the post in a new window.
This way, you will be able to offer your readers more information about the topic and keep them longer on your website.
6. Check for Grammatical Mistakes:
There are intelligent web-readers available and to ensure that your post is able to stand out, you must spot and correct all sorts of grammatical mistakes. Proofread your post as many times as possible so that your post looks polished and free from all sorts of common errors, which you may make while writing.
7. Add Value at the End to Encourage Discussions:
Before your blog post is live, it is great to encourage discussions and receive comments. It is always a great idea to hear the perspectives of other people and answer questions that they have asked.
For this, you can always add a question at the end of your post. This is an excellent way to encourage interactions. Though it is a small thing, it is a great call to action, which can encourage people to leave a comment.
8. Add SEO-Ready, On-Brand Images:
Just like other aspects of your content, the images of your content play a good role in branding the blog. You can always include images based on the personality, theme, and target audience of your blog.
I suggest creating templates for the blog post images having the same colors, fonts, and design. This way, the images of the blog post will appear more consistent. Additionally, make your images SEO-friendly. This can be done by including a keyword in the image name.
9. Include ‘Alt Text’ in the Images:
There is a reason behind including such images. Including an alt-text in the description will make it easier for the searchers to identify the image. These alt texts are also a powerful description of Pinterest, particularly when you include keywords, CTA, and persuasive text.
10. Include Featured Images:
It is great to include features images for a number of reasons. You can use them in the layout of your blog in a variety of ways.
he featured image is the image that appears along with the post. Just like Pinterest, vertical images within the text tend to attract people when scrolling through a post. Hence, it is a good idea to add vertical images with the text like featured images so that it is possible for you to gain more traffic for your blog.
11. Ensure that Your Post is SEO-Optimized
It is a must to optimize your blog for SEO, and this is something that you cannot ignore. With the correct SEO practices, your income and blog get the opportunity to grow tremendously as it helps search engines to peep into your site.
For example, if you are using WordPress, then you can download the Yoast SEO Plugin.
12. Include Tags in the Post:
It is possible to organize your content easily by incorporating tags. You can customize the content so that visitors can conveniently read more topics that are of interest to them.
Remember, tags are different from keywords. Therefore, you can create a broad range of tags that can be used to enhance the credibility of your post.
13. Add Post to Categories:
If there are different categories then you can set up them on the blog. If you are using WordPress, then you can add the post to default one till you select where you would like to include your post. Usually, the default category is almost uncategorized that does not help your post to optimize at all. So, select a couple of categories and decide where you post would make the best fit.
Things You Have to Do After Publishing Your Posts:
1. Pin the Post Image Into Pinterest:
If you are already including the alt-text for the images before inserting them into the post then your description is written already. Now, the next task is to pin the blog post image onto Pinterest.
I suggest creating a Pinterest board for the blog that shares pins from the own posts. Pin the blog post images onto the board first and then again pin it onto other relevant boards with a mix of pins from the blog and other sources. This way, you can easily target different audiences.
2. Schedule the Pin to a Pinterest Group Boards which are Relevant:
If you belong to a group board then you will love to share the pin to such boards. This can be done manually. You can also schedule programs to schedule the pin to group boards.
There are varieties of boards available that will offer your image the chance to be witnessed by numerous audiences, particularly if they miss the first pin. Since Pinterest has a smart feed option then you can schedule the blog so that your followers are not able to see the two of the same pin at once.
3. Share the Blog Post on Twitter and Facebook:
Usually, you can use a scheduling program to share your post on Twitter and Facebook posts. It is best to tweet with images that tend to perform better.
4. Schedule the Post for Twitter Multiple Times:
The feed of Twitter moves quickly and hence it is possible that your readers might miss a particular tweet, particularly if you belong in a distinct time zone.
For this reason, I would suggest sharing a new blog post onto the Twitter multiple times over a couple of days. The scheduling programs for social media work well for this. It is best to use the scheduling programs to schedule the post to be shared in 3 or 6 months, enabling them to constantly circulate the previous content.
5. Perform an Instagram or Facebook Live About the Blog Post Topic:
It is great to perform a live video. Instagram and Facebook are great platforms that allow you to record yourself speaking live while the audiences leave comments while you are communicating.
This feature is quite awesome and a fun way to connect with online peers and bloggers. The best thing about live streaming is that it offers a distinct medium to share content. Some readers prefer to read blog posts while a large number of them love to watch it. Hence, when you publish the post try to do a live video about the topic of the post.
6. Check Your Post’s Analytics to See Engagement:
One more thing I would suggest is to check the Google Analytics account for the last month. This will help you know the posts that received most page views. While doing this, check the posts that received most comments.
With the help of such statistics, it is possible to know about the engagement of your audience. You can find patterns and know the types of posts that your audience loves or is not fond of. Use that information to create an amazing editorial calendar.
7. Do Respond to the Comments in a Timely Manner:
Your post is live now and is doing a great job. Give your audiences enough time to appreciate your post and let them respond. While already I have discussed the best ways to make your audience respond to your post, you need to respond to them for their comments. This way, it is possible to discuss some of the points or share your own. You can keep the conversation going and let people coming back to your post.
8. Share the Post on Social Media Platforms:
To make it easy for the visitors you must share your article on social media platforms. This can be done by using a WordPress plugin. There are numerous plugins available online that lets you create a Mashable – style social sidebar with convenient one-click sharing buttons to most of the popular sharing websites.
It is up to you which popular social sites you pick.
9. Automate the Post:
Out there are numerous WordPress plugins available which you can use to automatically post the post to Twitter and Facebook. If you are using a self-hosted variety of WordPress then you must try to own a WordPress.com home for the blog. Also, you can publicize it to get more audience in your bag.
10. Do Repin Your Post in 1-2 months on Pinterest:
The process of repining your post onto Pinterest within a few months is known as looping. This is basically the practice of repining the old pins. After a few months, you must pin the post image onto Pinterest and keep repining it into your account.
It is because once you pin an image then your followers are not able to see it till you repin it or someone else pins the post. This problem can be fixed conveniently through looping. It keeps the older content in regular rotation.
To Sum Up:
Now, we are done! You no more need any support or emails or anything else in order to make your post blow off the internet arena. This is the complete checklist of things that you need to do before and after publishing your post. Do practice this checklist for each of your post. Make sure you do it till it becomes a regular practice.
Enjoy blogging and hope you are able to make the most of your blog. Follow these practices and be prepared to enjoy the returns that you will be able to get!